Neje CNC Laser engraving machine
What is it?
 Neje laser engraver is a CNC device which can burn some small patterns on wood, paper, cork, leather and other organic or temperature non resistant, flat materials. The rule of thumb is, if the material is capable of burning or melting with temperature under 300C – you can probably use it with laser engraver. One more thing, this material can’t reflect to much light (or pass it true) – so most of shiny or transparent materials won’t work.
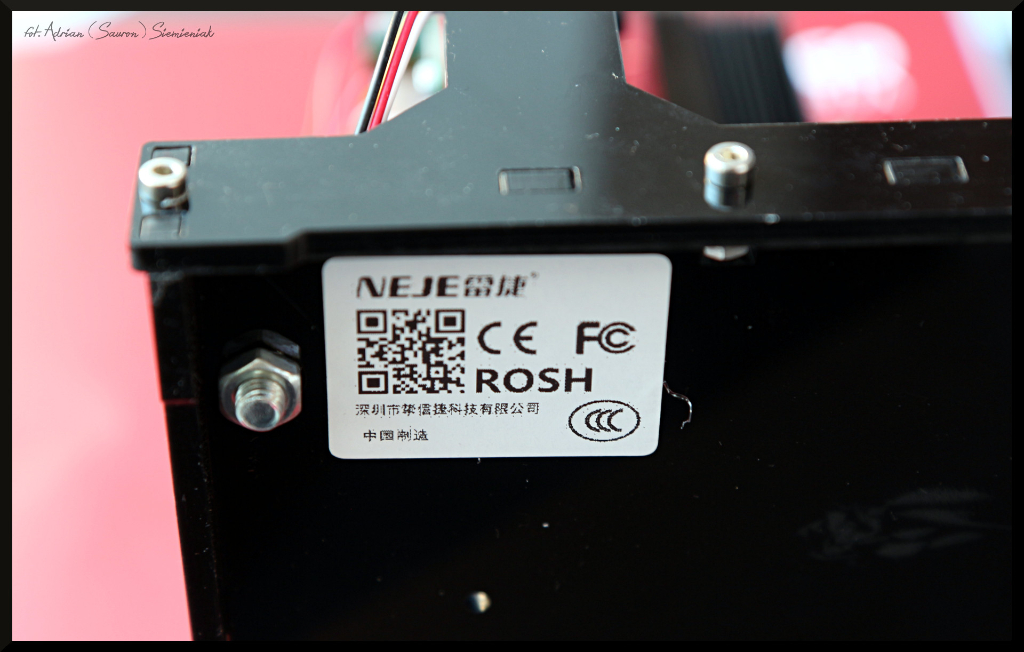
Now about this, exact model. It’s hard to tell – since you can find many names and different images in Chinese shops and producer does not put any mark on device itself, but judging by the driver its “DK-5 pro DK-6 pro DK-8 pro” type. So it should be “DK-5 PRO”. Be aware, then it’s not the same as “DK-5 PRO-5”, which is probably newer device with full frame (and the software is not compatible).
How does it works?
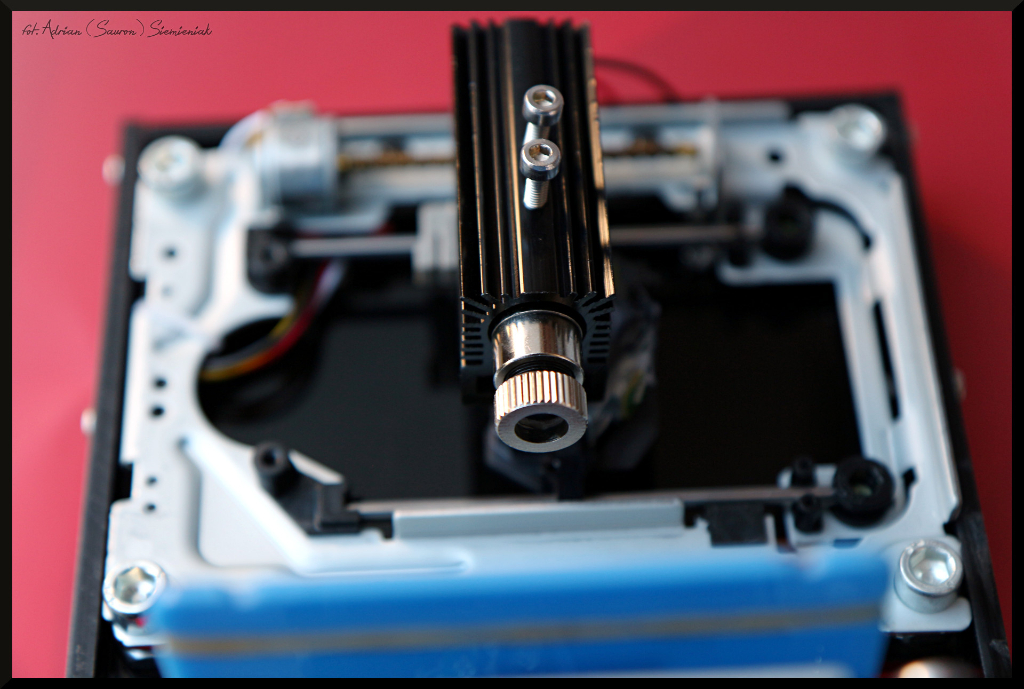
It’s tiny CNC device with small laser capable of burning some types materials (look below). Like in every CNC, you can control movement of your printing head in both X and Y axis (just like in normal printer – but axis Y is moving a bit different). There is no Z axis movement (you cannot set up laser lower/upper from material). You are able also to control burning time of a single point (let’s assume it’s a pixel on your drawing) but for entire image at once. So every pixel will be burned with the same time – it’s a big shame. Since If we could set burning time for every point separately, we could do “printing” in shades of grey.
What software do you need?
You need any Windows computer with USB port. Device has build in USB2Serial chip – so you will need proper driver and software provided by manufacturer. You should have some software on micro sdhc card provided with device. Since autumn of 2015 there is a manufacturer web page, where you should be able to get engraving tool and drivers: http://www.trusfer.com/#Download. I said “you should”, since this page quite often is now working.
The last _working_ package (driver and tool) is called “DK-5 pro DK-6 pro DK-8 pro Software Update from 2015/9/22: (Laser Carve_EN).zip” – newer ones (as on the end of 2015) does not work whit this device.
Copy of the latest driver I have (in case, if manufacturer page does not work) – here.
What type of materials you can use?
So far I have tested :
:
- Wood – works perfect all the time. I’ve tested dense exotic wood, soft local pines, light and dark – everything I could find in my shop. You just have to find proper burn time – somewhere between 60-90
- Leather – also one of the best materials you can use. Proper burning time is somewhere between 40-60. The burning “stinks” stays for a while on leather – but it wear out 🙂
- Cork – this is quite soft material, you have to burn it at max. 60
- Plastic – well, this stuff is not burning, it’s melting. So you will see the pattern, but It will not look as attractive, as with other materials (unless you pour some contrasting paint in melted grooves).
- Paper – you can burn every paper, you can even cut through it.
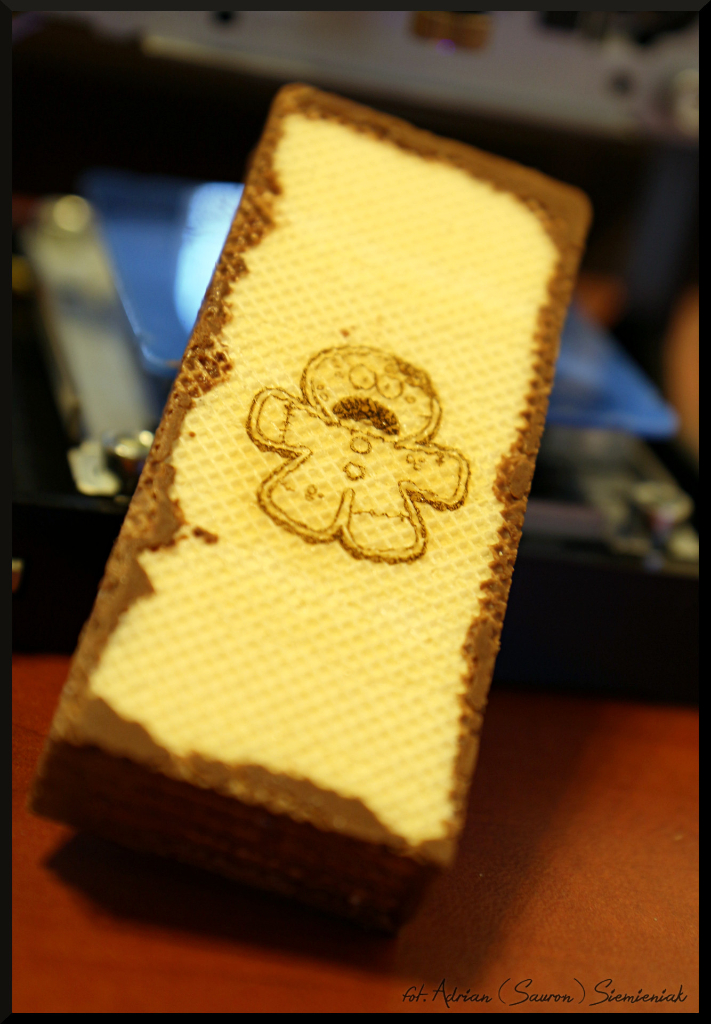
- Food – Yeah! This is my idea – I haven’t seen anything about it before on any page. Anyway, you can do some nice patterns of waffles, cookies – just don’t burn to much black “colour”, since it can smell like burned cake 🙂
- Silicon powder – this is also, kind of, my invention. Since some type of laser 3d printers use silicon powder to create stuff – why can’t we? Anyway it’s not exactly 3d, but You can put some silicon powder in small container (1-2mm thick layer) and then melt the pattern with laser on it (see some pictures in gallery)
Anyway, rule of the thumb, materials darken and denser are better (more heat they can absorb). Everything what is light, transparent or sparse (like some cloths) you should check first.
What materials you can’t use:
- of course, every kind of metal or every common alloy – there is not enough power in this laser
- acrylic and every other transparent plastic
- sparse wool or felt (even synthetic felt)
- transparent foam, or sparse foam
Resolution and working area

The true (unless with my device) working area is 35,5mm (X axis) and 37mm (Y axis). Usable image resolution is 497x497px. Anything more then this will be resized (if bigger then 500x500px) or simply cut, if image is somewhere between 497 to 500px. Anyway, this can change with newer version of “Laser Carver” utility, since it looks like a bug.
To make things even more complicated, if you place on X axis anything over 473 pixel – the device will not engrave it (it’s exceeds X axis physical width) and there is a great chance it will loose a step and “jerk” the image. So you should (once again – it can be only characteristic of my device) put every image on white template 497×497 pixels, but do not go over 473 pixel in X axis. See the image/template on the right.
And small notice, why to use template and not just resize image just to 473 pixels? Well, Laser Carver (since image is smaller then 500 pixels) will centre it and you will still exceed physical capabilities of X axis on device.
Where to buy?
Mine came from dx.com but you can buy it probably in every China shop, on aliexpress.com or ebay. You will find plenty of different types of Neje devices (and probably some other brands). I can’t tell which on is newer or older – mine was advertised as true 500mW purple laser, 10 times faster – then “older ones” 😉 .
How does it looks like?
You can see few pictures and one example video below, more of it you will find in my gallery.

Thank you for taking the time to publish for others to read and a special thanks for making it available to English speakers. You gave me a lot of useful information to consider in deciding whether to purchase this unit. Best wishes to you and yours.
When you mentioned “proper burn time – somewhere between 60-90”
is that 60-90 seconds? or minutes?
thanks,
In dedicated software (Laser Carver) you can set burning time somewhere between 0-120. They don’t use any unit with it, but it’s certainly nothing close to seconds or minutes. If it’s single laser burn/shot (point on engraving object) it could be milliseconds or microseconds.
can it move the x and y axis at the same time? and if not, could you do it by writing your own program?
thanks
Mechanically you could move both axis at the same time, but if the interface is capable of this – I don’t know. This version has very limited serial interface (newer one are grbl compatible, this one not), and completely no SDK. For writing any custom software you should get grbl version, other wise you will have to do reverse engineering of serial commands.